

When Your Thermostat Stops Working: Quick Fixes and What to Do Next
Thermostat repair doesn’t always mean an expensive service call. In many cases, the fix is simpler — and cheaper — than you think.
Here’s a quick look at the most common thermostat problems and what usually solves them:
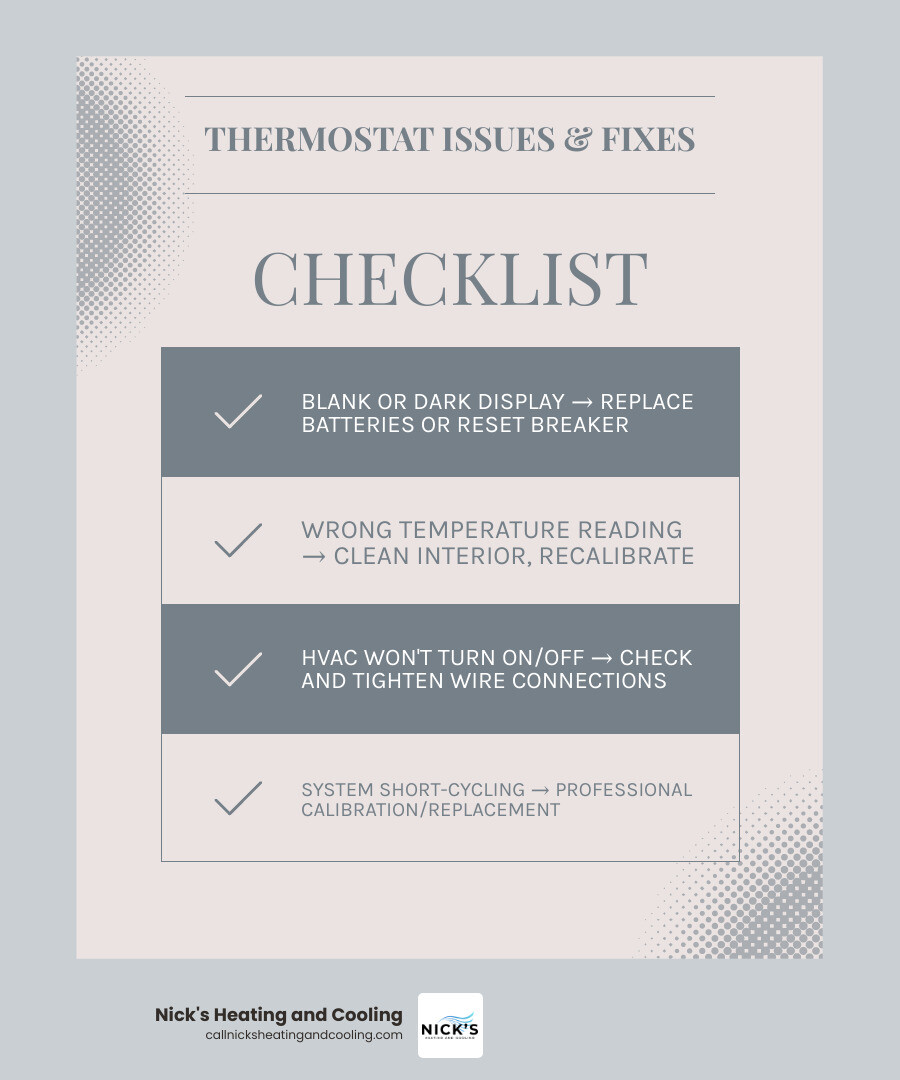
| Problem | Likely Cause | Quick Fix |
|---|---|---|
| Blank or dark display | Dead batteries or tripped breaker | Replace batteries; reset breaker |
| Wrong temperature reading | Calibration drift or dust buildup | Clean interior; recalibrate |
| HVAC won’t turn on or off | Loose or broken wiring | Check and tighten wire connections |
| System short-cycling | Miscalibration or bad sensor | Professional calibration or replacement |
| Smart thermostat offline | Wi-Fi or C-wire issue | Check connection; verify C-wire |
Most thermostat repairs fall into one of two buckets: simple DIY fixes (batteries, dust, loose wires) or professional repairs (calibration, wiring faults, smart thermostat configuration). Knowing which one you’re dealing with can save you real money.
For most Birmingham homeowners, minor thermostat issues cost $100 to $150 to fix professionally. A full replacement runs $200 to $400. And a smart thermostat upgrade — which can cut monthly energy bills by 15–20% — starts around $299 installed.
The frustrating part? A thermostat problem can look like a major HVAC breakdown. A single loose wire can leave your whole system dead silent. That’s exactly why it pays to know how to diagnose the issue before assuming the worst.
This guide walks you through what’s likely wrong, what you can safely fix yourself, and when it’s smarter to call a pro.
Troubleshooting and Thermostat Repair: DIY vs. Professional Fixes
When your heating or cooling system suddenly refuses to kick on in the middle of a humid Birmingham summer, panic is a natural reaction. However, before assuming that your entire air conditioner is broken, it is wise to look at the wall. The thermostat is the brain of your heating and cooling setup, and like any brain, sometimes it just has a minor communication breakdown.
Many common issues can be resolved with basic troubleshooting. However, it is important to understand the limits of DIY work. While replacing batteries, dusting the internal components of a manual unit, and tightening terminal screws are safe for any homeowner, deeper electrical issues require caution.
Thermostats operate on low-voltage electricity (usually 24 volts). While 24V is generally safe and won’t give you a dangerous high-voltage shock, handling wires improperly can still short out your HVAC system’s main control board. A mistake as simple as letting two live low-voltage wires touch can turn a free DIY fix into an expensive control board replacement.
If you want to try your hand at basic diagnostics, you can easily perform a low-voltage wiring repair for about $20 to $60 in materials. All you need are a couple of basic tools:
- A digital multimeter (to test for electrical continuity and voltage)
- A pair of wire strippers (specifically rated for 18-gauge to 22-gauge wire)
- A small flathead screwdriver
There is a certain irony in the fact that a tiny, low-voltage wire can make a multi-thousand-dollar HVAC system look completely dead, causing major homeowner panic. If you suspect a broken connection behind the wall, you can consult this guide on How to Fix a Broken Thermostat Wire in 20 Minutes ($0–$15, No HVAC Tech) to learn how to identify and repair minor physical wire breaks safely.
Diagnosing Thermostat Repair Issues vs. HVAC Failures
How do you know if you are dealing with a simple thermostat issue or a major mechanical failure in your furnace or air conditioner? Homeowners in Hoover and Birmingham can run through a quick mental checklist of symptoms:
- The Blank Display: If your thermostat screen is completely dark or flickering, check the batteries first. If replacing them doesn’t work, verify that your home’s main circuit breaker hasn’t tripped. If the breaker is fine and the batteries are fresh, the thermostat is likely not receiving power from the indoor HVAC unit, which could point to a blown fuse on the furnace control board.
- The Short-Cycling Loop: If your air conditioner or heater turns on and off rapidly every few minutes, the thermostat’s internal temperature sensor might be miscalibrated, or the unit might be placed in a bad spot (like directly under an air vent or in direct sunlight). However, short-cycling can also be caused by dirty air filters, clogged condensate lines, or failing compressors.
- No Response to Temperature Adjustments: If you lower the thermostat setting by five degrees and absolutely nothing happens—no click, no fan, no cool air—the problem is almost always a communication error.
If your thermostat is working perfectly, displaying the correct temperature, and signaling the system to turn on, but you only get lukewarm air or no airflow at all, the issue lies within the heating or cooling equipment itself. In those cases, you will need to schedule professional AC Repair or Furnace Repair to address issues like failing blower motors, bad capacitors, or refrigerant leaks.
Step-by-Step Guide to Low-Voltage Thermostat Repair
If you have decided to troubleshoot the low-voltage wiring behind your thermostat, follow this step-by-step process to ensure safety and accuracy.

- Photograph Everything First: Before you disconnect a single wire, pop the thermostat off its wall plate and take a clear, well-lit photo of the wiring connections. This is the single most important step in thermostat wiring repair. You will need this visual reference to ensure every colored wire goes back to its correct terminal.
- Turn Off the Power: Never work on thermostat wiring while the system is live. Go to your home’s electrical panel and switch off the breakers for both your indoor unit (furnace/air handler) and your outdoor unit (AC condenser). For extra safety, flip the local power switch on the side of your indoor furnace unit.
- Understand the Terminal Designations: Standard HVAC systems use a universal lettering code for thermostat terminals.
- R (or RH/RC): 24V power supply from the transformer.
- W: Heating control.
- Y: Cooling control.
- G: Indoor blower fan.
- C (Common Wire): Provides continuous 24V power to modern digital and smart thermostats.
- Inspect for Common Failure Points: Look closely at where the copper wires meet the screw terminals. Are any wires loose, dirty, or corroded? If the copper tips look dark or oxidized, use your wire strippers to cut the wire back by half an inch, strip away about 3/8 inch of fresh insulation, and reconnect the clean copper to the terminal.
- Test for a Broken Wire: If a specific function isn’t working (for example, the fan runs but the AC won’t turn on), you can test the corresponding wire (Y) for a break. Set your multimeter to “continuity” mode. Disconnect the wire at both the thermostat and the indoor furnace control board. Touch one multimeter probe to each end of the wire. If you hear a continuous beep, the wire is intact. No beep indicates a physical break inside the wall.
- Use the “Unused Wire” Trick: If you discover a broken wire inside the wall, you do not necessarily have to fish a brand-new cable through your drywall. Most thermostat cables contain extra, unused colored wires in the bundle (such as a blue or brown wire). You can simply label and use one of these spare wires to replace the broken conductor at both ends.
Knowing When to Repair or Replace Your Thermostat
As a general rule of thumb, if your thermostat is more than 8 to 10 years old, replacing it is almost always more cost-effective than attempting complex repairs. Older manual dial and slider thermostats rely on physical mechanical parts that wear out, lose their calibration, and accumulate dust over time.
| Factor | Repair the Thermostat | Replace the Thermostat |
|---|---|---|
| Age of Unit | Under 5 years old | Over 8–10 years old |
| Type of Issue | Dead batteries, loose wires, dust buildup | Failed digital screen, broken sensor, software loop |
| Technology | Already a programmable or smart model | Old manual dial, mercury switch, or basic digital |
| Cost Comparison | Minor fix ($0 to $150) | Repair cost is close to replacement cost ($200+) |
| HVAC Compatibility | Fully compatible with current system | Upgrading HVAC system requires a modern control interface |
If you are trying to decide whether to fix your current device or purchase a new one, consider the physical state of the unit. Consulting with a certified HVAC technician can help you determine if a simple repair will suffice or if upgrading to a newer model is the more practical choice.
Signs of Thermostat Failure and Calibration Drift
A thermostat doesn’t always stop working overnight; often, it fails slowly. The most common indicator of a failing thermostat is calibration drift. This occurs when the internal sensors begin to misread the actual temperature of the room, causing your home to feel much warmer or colder than the temperature displayed on the screen.
Over the years, dust and airborne debris collect inside the thermostat housing, coating the delicate temperature sensors and insulating them from the actual room air. This dust buildup leads to sensor errors, forcing your system to run longer than necessary or shut off prematurely.
To prevent these issues from putting unnecessary strain on your heating and cooling equipment, it is essential to keep up with routine system maintenance. Booking regular Furnace Maintenance and AC Maintenance ensures that your entire system—including the thermostat—is inspected, cleaned, and calibrated by a professional technician.
The Cost of Repairing vs. Replacing Your Device
When budgeting for home comfort, knowing the standard market prices helps you make an informed decision. Nationally, the average cost for thermostat repair is $213, with most homeowners spending between $114 and $316.
Here is how those costs typically break down:
- Minor Repairs ($100 to $150): This covers basic professional troubleshooting, such as cleaning internal contacts, tightening loose low-voltage wires, or minor recalibration.
- Component Repairs ($150 to $250): This includes replacing damaged wiring segments, fixing faulty sensors, or resolving software configuration issues on high-end smart models.
- Full Thermostat Replacement ($200 to $400): This price includes the cost of a brand-new programmable or smart thermostat unit, professional mounting, wiring integration, and system testing.
These standard rates can vary depending on your specific HVAC system configuration, the accessibility of your wiring, and whether your system requires specialized smart thermostat integration.
Upgrading to a Smart or Programmable Thermostat
If you are still using an old manual dial thermostat, you are missing out on significant monthly savings. Upgrading to a modern smart or programmable thermostat is one of the easiest ways to lower your utility bills while improving your home’s overall comfort.

The benefits of upgrading to a smart thermostat include:
- Substantial Energy Savings: Smart thermostats use advanced algorithms to learn your daily household routines, automatically lowering the heating or cooling when you are asleep or away at work. Homeowners save an average of 15–20% on monthly energy bills after making the switch.
- Remote Access and Control: Forgot to turn off the AC before leaving for a weekend trip? Modern Wi-Fi-enabled thermostats allow you to adjust your home’s temperature from anywhere in the world using an app on your smartphone or tablet.
- Pet Safety Alerts: Many smart models allow you to set safety temperature thresholds. If your HVAC system fails while you are away, the thermostat will send an immediate notification to your phone, ensuring your pets stay safe in extreme weather.
- System Diagnostics: High-end models monitor your system’s performance, reminding you when it is time to change your air filters or alert you if the heating or cooling system is struggling to reach the set temperature.
If you are planning to upgrade your entire heating and cooling setup for long-term reliability, combining a thermostat upgrade with a new AC Installation is the perfect way to maximize your energy efficiency. Modern smart thermostats integrate seamlessly with high-efficiency systems to provide unparalleled control over your indoor climate.
Frequently Asked Questions About Thermostat Troubleshooting
Can I install a new thermostat myself?
While a handy homeowner can physically mount and connect a basic thermostat, professional installation is highly recommended for modern programmable and smart models. Modern smart thermostats often require a dedicated “C-wire” (common wire) to provide continuous 24V power. If your older home does not have a C-wire, a professional technician will need to run a new cable or install a special power-adapter kit. Hiring a certified HVAC technician also guarantees that your new equipment is fully compatible with your existing furnace and AC, while protecting your manufacturer warranties.
How long does a professional thermostat installation take?
A professional thermostat installation is a quick and straightforward process, typically taking about one hour to complete. This timeframe includes safely removing your old wall unit, inspecting the existing wiring, mounting the new base plate, connecting the low-voltage wires, configuring the software settings, and running a complete functional test to ensure your heating, cooling, and fan modes respond perfectly.
What types of thermostats do HVAC companies service?
Professional HVAC companies service all major types of thermostats, including:
- Manual Thermostats: Older dial or slider models that use physical bimetallic strips or mercury switches.
- Programmable Thermostats: Digital models that allow you to set daily or weekly temperature schedules.
- Smart and Wi-Fi Thermostats: Advanced, internet-connected devices (such as Nest, Ecobee, and Honeywell Home) that offer learning capabilities, voice control, and smartphone integration.
Conclusion
Your thermostat is the remote control for your entire home’s comfort system. When it starts acting up, you don’t have to suffer through uncomfortable indoor temperatures or sky-high utility bills. Whether you need a simple wire repair or are ready to upgrade to a state-of-the-art smart thermostat, taking care of your thermostat is the key to maintaining a highly efficient home.
If you live in Birmingham, AL, or Hoover, AL, and are experiencing system issues, let the certified local experts at Nick’s Heating and Cooling help. They prioritize integrity, professionalism, and rapid, reliable service, offering residential and commercial HVAC solutions tailored to your budget. Take advantage of their free, no-obligation inspections to pinpoint your exact comfort issues without any financial stress.
Ready to restore perfect comfort to your home? Contact the friendly team today, or Schedule service with Nick’s Heating and Cooling to get your system running smoothly!