

Start Thermostat Wireless Sensor Repair With These Quick Checks
For most thermostat wireless sensor repair problems, start with the simple fixes: install a fresh battery, move the sensor closer to the thermostat, restart the thermostat or hub, and re-pair the sensor in the app or thermostat menu. These steps solve many “offline,” weak connection, and missing temperature-reading errors.
- Check the sensor battery and battery contacts.
- Remove the sensor from behind metal objects, appliances, thick walls, and direct sunlight.
- Restart the thermostat, hub, or receiver.
- Re-add the sensor using your model’s pairing instructions.
- If it still will not connect, switch the thermostat to its built-in sensor until the remote sensor is repaired or replaced.
Nest sensors commonly use Bluetooth Low Energy, while Honeywell and other systems may use proprietary radio signals. Either way, low battery power, distance, walls, and wireless interference can interrupt communication. If the sensor reconnects but the heat still will not run, the issue may be in the furnace, receiver, wiring, or control board rather than the sensor itself.
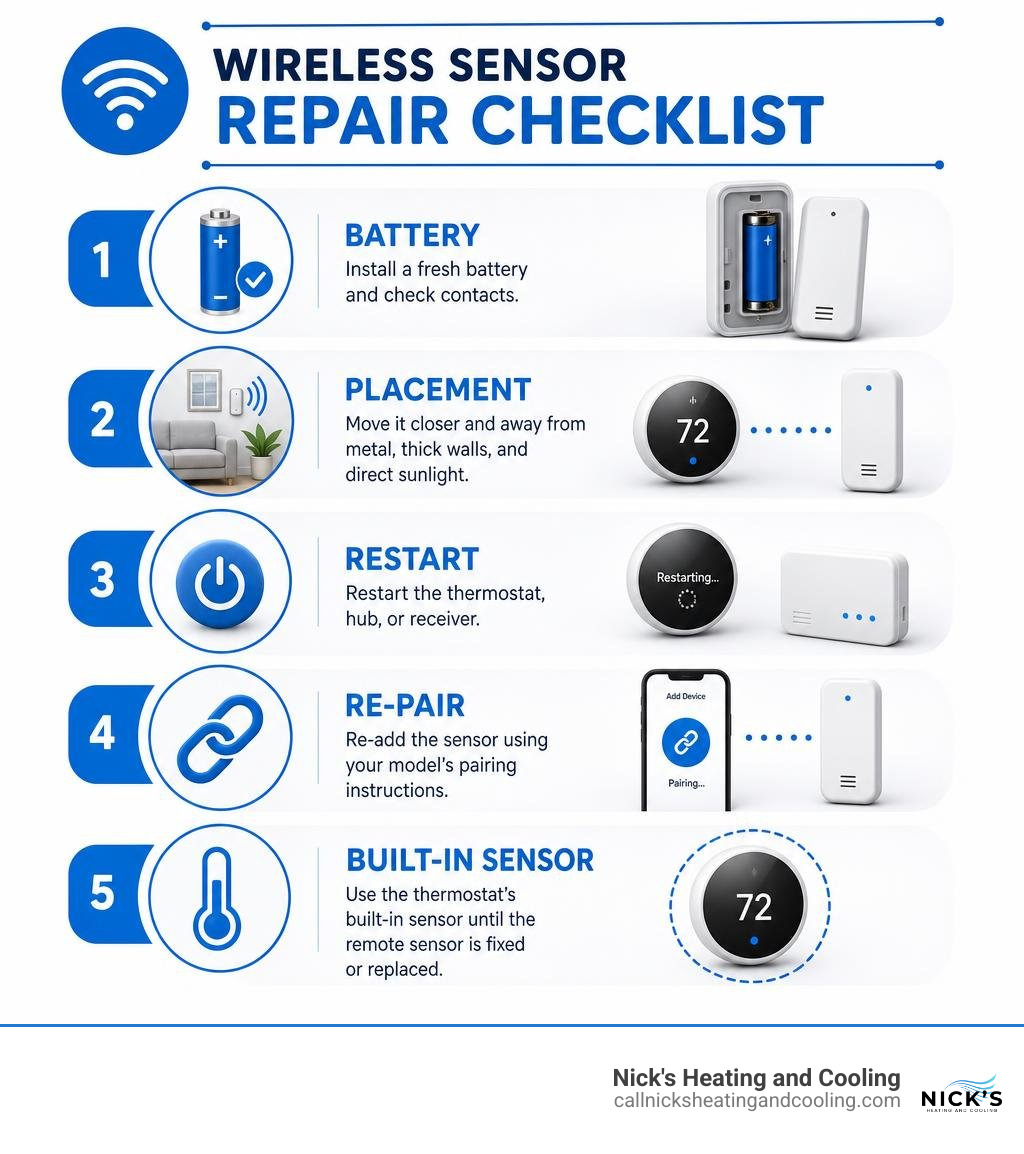
Thermostat wireless sensor repair terms at a glance:
Common Causes of Wireless Sensor Disconnections
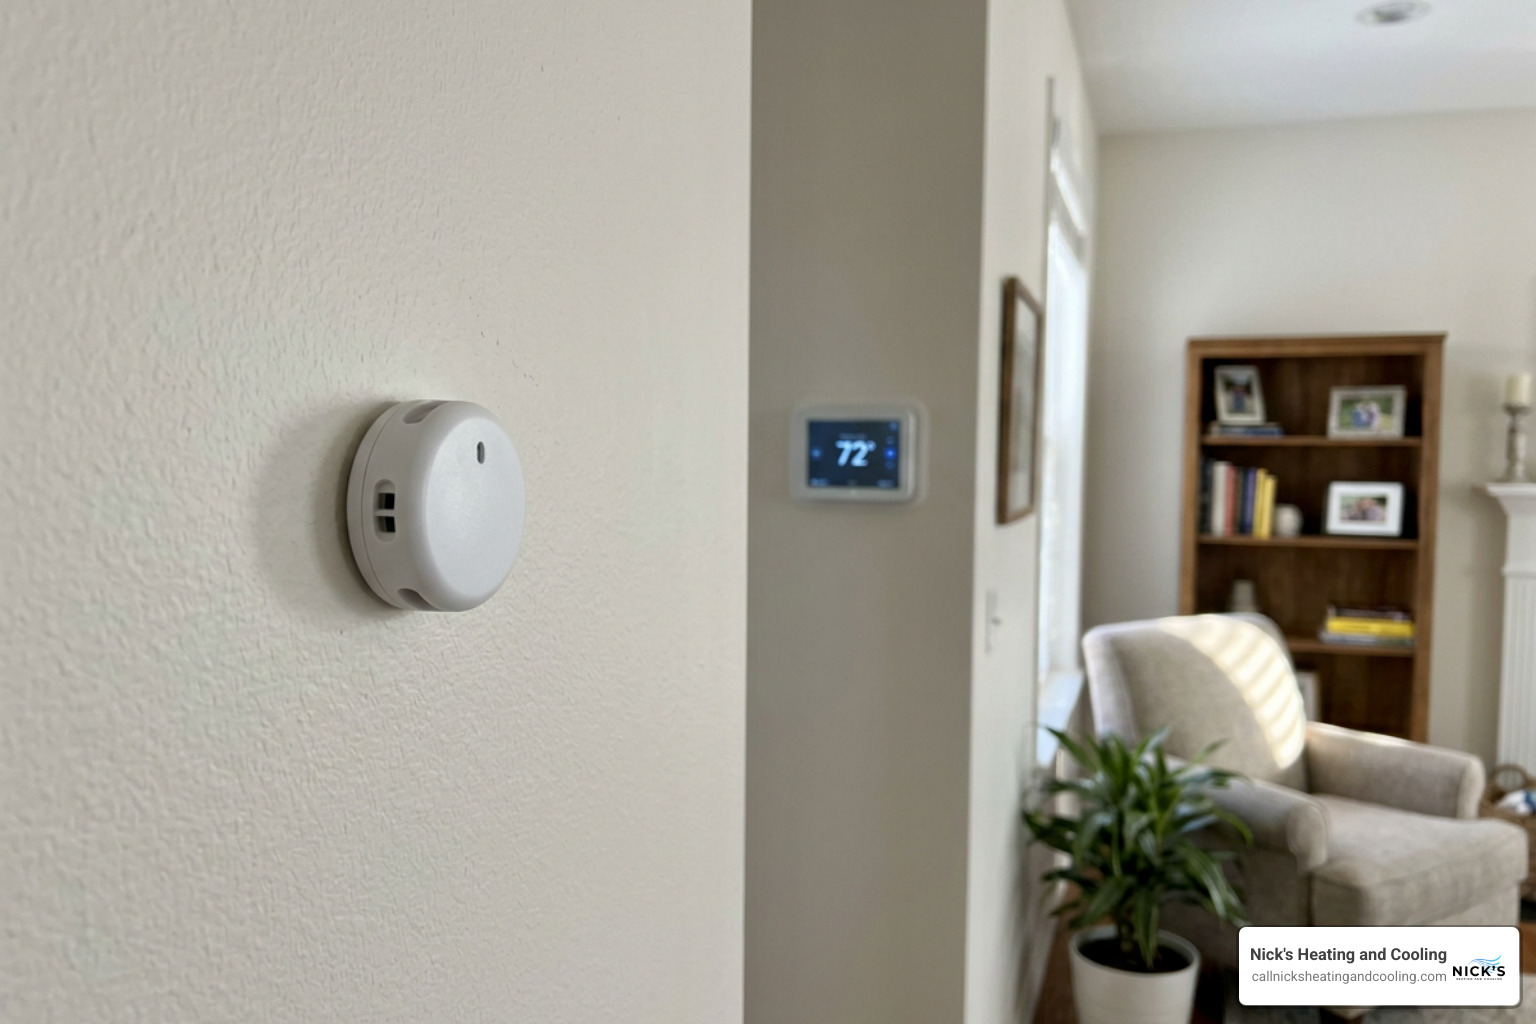
When your thermostat suddenly reports that a remote sensor is offline, your home’s climate control suffers. Rooms feel too stuffy or freezing cold because the HVAC system relies on false data or defaults to a single reading. In my years diagnosing comfort issues across Birmingham homes, I have found that wireless communication failures usually come down to a handful of recurring culprits. If you are trying to figure out how to fix thermostat issues on a budget, understanding these common failure points saves you time and prevents unnecessary part replacements.
Signal Interference and Range Limitations
Wireless climate accessories rely on radio frequencies or Bluetooth Low Energy (BLE). Nest sensors, for example, communicate with the main thermostat via BLE, which has an effective open-air range of about 50 feet. However, standard residential construction drastically reduces that coverage.
Every solid interior wall can degrade the signal by 30% to 50%. Dense building materials like brick, plaster, concrete, and metal framing studs reflect or absorb radio waves, turning a 30-foot straight path into an impenetrable barrier.
Beyond physical barriers, electromagnetic interference is a primary culprit. Devices running on the 2.4 GHz frequency band—such as Wi-Fi routers, baby monitors, cordless phone bases, and microwave ovens—can jam wireless signals. Furthermore, modern mesh Wi-Fi networks that employ aggressive band steering can overwhelm nearby smart thermostats, creating packet collisions that drop sensor signals.
Low Battery and Terminal Oxidation
A dropping battery voltage is the single most frequent reason a sensor loses connection. Many smart sensors—like the Nest Temperature Sensor—run on a single CR2 3V lithium cell, while others utilize CR2032 coin cells or pairs of AAA alkaline batteries.
As a battery nears depletion, the sensor’s microcontroller automatically scales back radio transmission power to preserve basic sensing functions. This makes the signal fragile long before the device shuts down completely.
Physical battery contacts also degrade over time:
- Micro-corrosion: Humidity in the air causes light oxidation on metallic contact points, introducing electrical resistance.
- Lost spring tension: Metal battery tabs lose mechanical elasticity, causing momentary drops in power during room vibrations.
- Trapped capacitor charge: Internal capacitors can hold residual voltage when a battery dies, trapping the sensor logic board in a frozen state until power is fully discharged.
Step-by-Step Thermostat Wireless Sensor Repair and Troubleshooting
Before replacing equipment, follow a systematic process to isolate hardware faults from configuration errors.
| Brand / Model | Battery Type | Standard Reset Method | Re-Pairing Procedure |
|---|---|---|---|
| Google Nest | CR2 3V Lithium | Remove battery for 10 minutes | Use Google Home app to scan QR code / pair |
| Honeywell Home / Resideo | AAA Alkaline (x2) | Remove batteries for 60 seconds | Access Thermostat Menu > Devices & Sensors > Add |
| ecobee | CR2032 Coin Cell | Reverse battery polarity for 60s | Thermostat Menu > Sensors > Add Sensor |
| Sensi Room Sensor | AAA Alkaline (x2) | Hold physical reset button for 5s | Sensi App > Add Device / Connect |
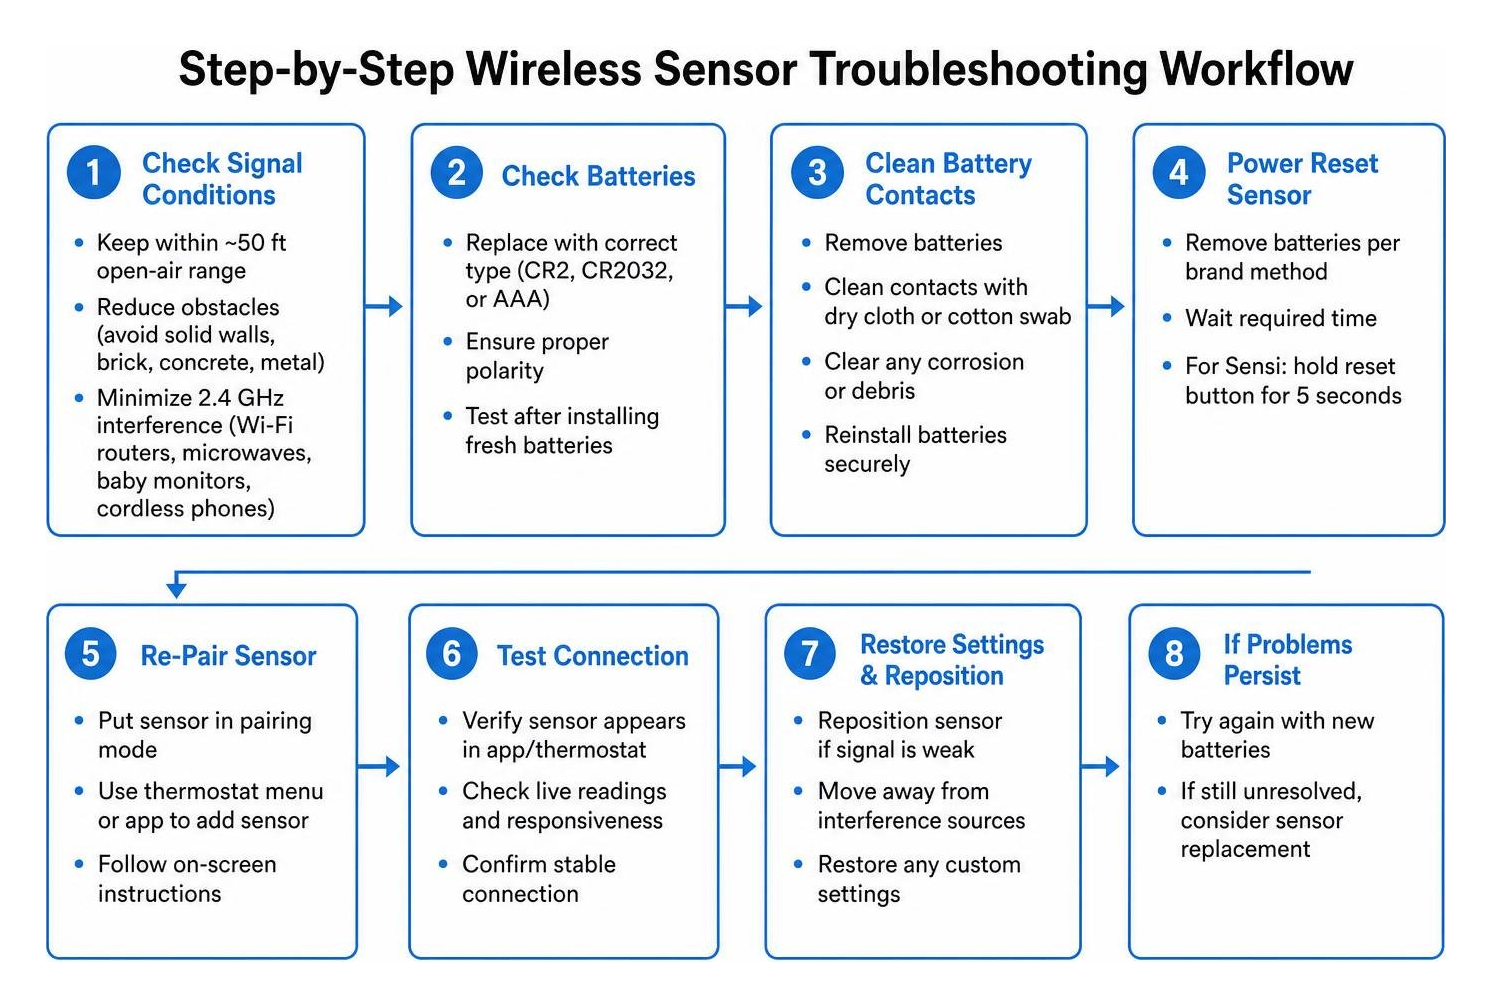
DIY Thermostat Wireless Sensor Repair for Nest and Google Home
Nest sensors communicate over BLE, making them sensitive to software freezes and distance. If you are experiencing dropouts, review Nest temperature sensor weak connection fixes to assess physical obstructions.
To perform a complete repair on a Nest sensor:
- Check Battery Status: Open the Google Home app, tap your thermostat, select the sensor, and check the battery indicator. If it shows low or hasn’t updated in 24 hours, replace the CR2 lithium cell. Consult Nest thermostat battery replacement guidance if you are servicing thermostat base power alongside your sensors.
- Restart Thermostat Bluetooth: On your Nest Learning Thermostat, push the outer ring, navigate to Settings > Reset > Restart. This clears the local Bluetooth cache without erasing your HVAC programming.
- Hard-Reset the Sensor: Remove the back cover with a coin, take out the CR2 battery, and wait a full 10 minutes. This completely drains the capacitors and clears stale pairing flags.
- Re-Pair the Hardware: If the sensor remains unreachable, delete it from the Google Home app. Follow the official guidelines to troubleshoot issues with the Nest Temperature Sensor, scan the pairing code on the back plate, and bring the sensor within 3 feet of the thermostat during initial synchronization.
Advanced Thermostat Wireless Sensor Repair for Honeywell and Sensi Systems
Honeywell (Resideo) and Sensi systems often use dedicated radio frequencies or local Wi-Fi channels to communicate.
- Locate the Installer Setup Code: Honeywell digital thermostats require an installer security code to modify sensor assignments. You will find this 4-digit code printed on a sticker on the sub-base (the mounting plate behind the thermostat faceplate).
- Clear the Dormant Radio State: Sensi and Honeywell units can occasionally enter a dormant radio bug where the receiving chip stops listening. Unclip the thermostat faceplate, pull the AA backup batteries, and flip the furnace circuit breaker to kill 24V C-wire power for 60 seconds. This forces a complete memory wipe on the motherboard. If you run into broader network communication issues, reviewing how to reconnect Sensi thermostat to Wi-Fi will help stabilize the central unit.
- Address Micro-Corrosion: Pre-owned or older sensors frequently fail due to contact resistance. Following best practices from this ecobee sensor repair guide, take a cotton swab lightly dampened with 90% isopropyl alcohol and clean the battery terminal prongs. Gently bend the positive contact prong upward to ensure firm mechanical pressure against the cell.
- Re-Enroll the Device: Navigate to the Honeywell menu, select Devices & Sensors, hit Add, and follow the screen prompts while standing near the wall base. If your legacy unit is completely worn out, consult my thermostat remote sensor replacement guide to select a modern, compatible model.
How to Switch to the Built-In Thermostat Sensor When Wireless Fails
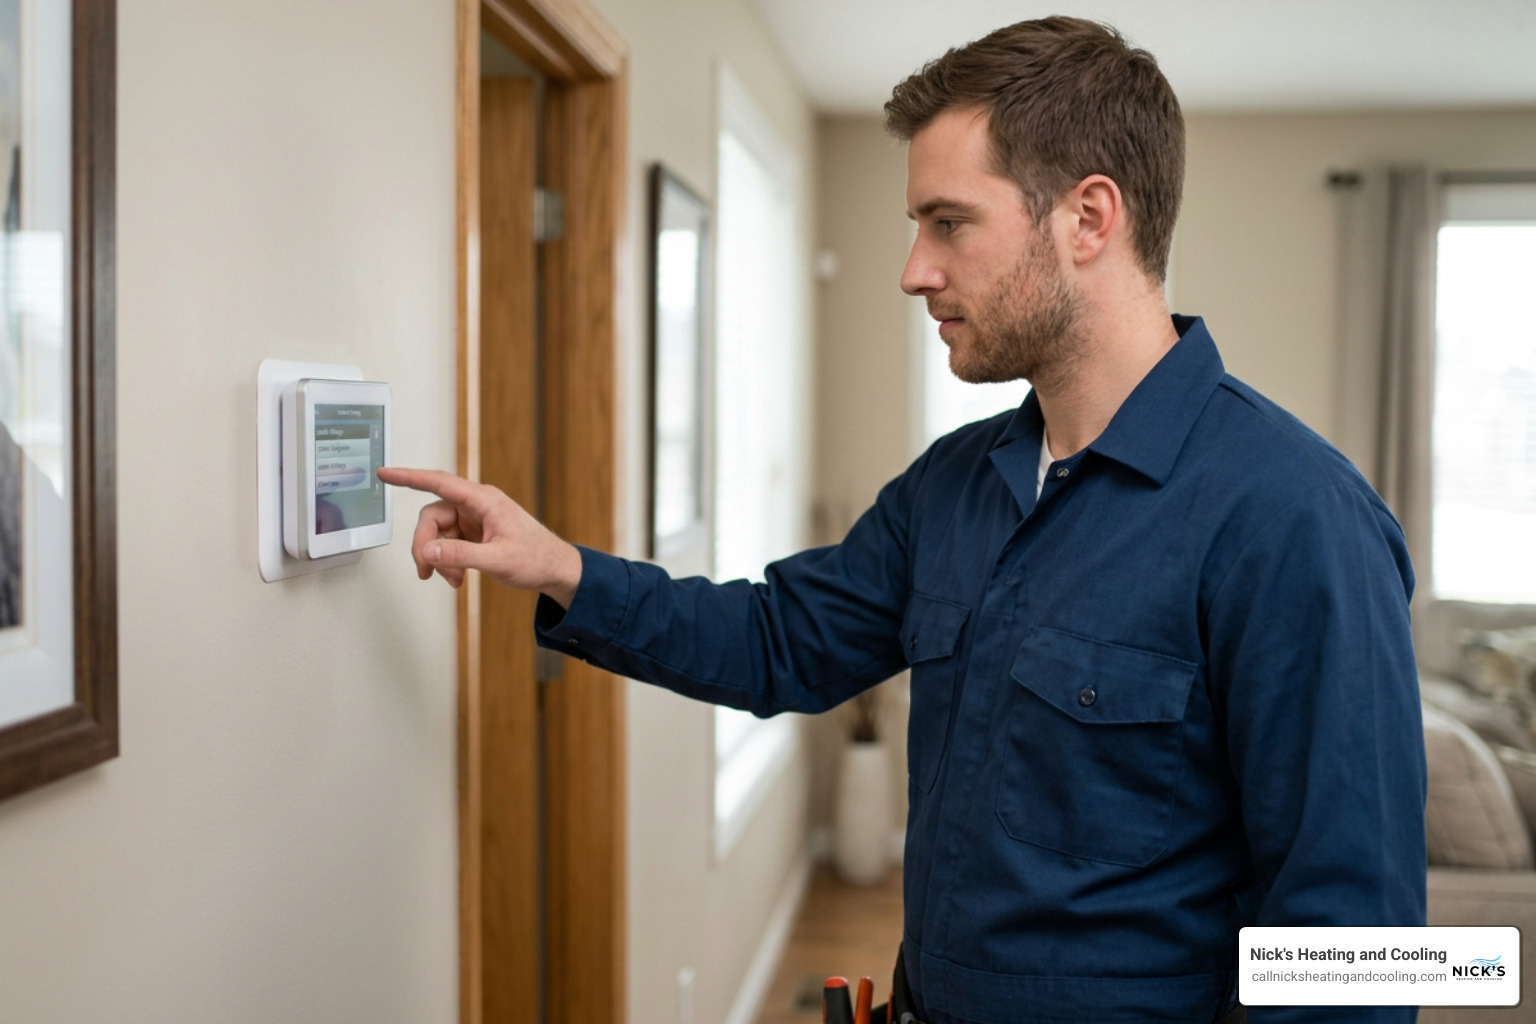
When an auxiliary sensor drops offline during a severe cold snap or heat wave, you cannot afford to wait for replacement parts while your HVAC system shuts down. You must force the thermostat to read from its internal thermistor.
- Access the Installer Menu:
- For Honeywell thermostats, press and hold the Menu button for 5 seconds until the advanced setup displays.
- Enter your 4-digit date/installer code located on the sub-base.
- Reassign Primary Temperature Priority:
- Navigate to the Temperature Control or Sensor Setup parameter.
- Change the priority from “Remote Sensor” or “Average” to Local / Internal Thermistor.
- Understand Backup System Algorithms:
- High-end commercial and residential thermostats include fail-safe software. If return air or discharge air temperature sensors disconnect, the system enters an emergency operating mode—heating if return air measures below 56°F until it reaches 58°F, and cooling if air temps exceed 88°F down to 86°F.
- Verify System Firing:
- Set the indoor target temperature 3 degrees above ambient room temperature. If you hear the thermostat click but the equipment fails to ignite, the problem is no longer your sensor. You may need professional furnace repair to address an ignition lockout or tripped safety switch.
Optimal Sensor Placement to Prevent Future Signal Drops
Improper placement causes poor wireless performance, false temperature readings, and short-cycling. Follow these guidelines to maintain a strong signal:
- The 5-Foot Rule: Mount your sensor approximately 4 to 5 feet above the floor (chest height). This ensures it samples the active air volume of the room rather than cold floor drafts or rising heat pockets.
- Interior Walls Only: Never mount a remote sensor on an exterior wall. Exterior walls transfer outdoor heat or cold through thermal bridging, misleading your thermostat into overcooling or overheating the rest of the house.
- Avoid Microclimates: Keep sensors at least 3 feet away from supply registers, return grilles, drafty doorways, windows, and direct sunlight.
- Maintain Radio Line of Sight: Avoid placing sensors behind dense furniture, large metallic appliances, or large mirrors (the metallic backing on mirrors acts as a radio shield). In multi-story homes, place sensors in open stairwells or central hallways rather than deep inside closed closets.
- Wiring Separation: When dealing with wired outdoor sensors or hydronic systems like the Warmup konekt wireless thermostat, maintain at least 12 inches of separation between low-voltage sensor lines and high-voltage electrical wires to prevent induced electrical noise.
If your system struggles to maintain balanced temperatures throughout the summer even after correcting sensor positions, schedule a diagnostic check for ac repair to inspect ductwork balancing and refrigerant charge.
Frequently Asked Questions About Smart Room Sensors
Why is my thermostat sensor showing offline in the app?
A sensor displays an offline status when the thermostat has not received an RF or BLE data packet within a preset time window (usually 15 to 60 minutes). This is caused by:
- A depleted battery that can no longer power the transmitter.
- Radio interference blocking the broadcast signal.
- The mobile app displaying stale cached data (force-close and reopen the app).
- A pending firmware update that requires a system restart.
What should I do if the heat still won’t turn on after fixing the sensor?
If your thermostat display shows that heating is active (e.g., screen turns orange or says “Heating On”) but no warm air blows from your vents:
- Reset the HVAC Breaker: Turn off the furnace and air handler circuit breakers in your main electrical panel for 5 minutes, then restore power.
- Check the Safety Switches: Ensure the furnace blower compartment door is firmly seated against its safety interlock switch.
- Inspect the 24V Transformer: A brief short during thermostat troubleshooting can blow the 3-amp or 5-amp automotive blade fuse on the furnace control board.
- Schedule Preventive Service: Regular furnace maintenance ensures that flame sensors, draft inductors, and limit switches work reliably before cold weather arrives.
How do I know if my thermostat circuit board is damaged?
A failed sensor receiver circuit or damaged sub-base motherboard presents distinct symptoms:
- The thermostat repeatedly restarts whenever heating or cooling engages.
- The unit fails to maintain 24V AC across the R and C terminals on a digital multimeter.
- Burnt smell, darkened circuit traces, or bulging capacitors on the back of the faceplate.
- Diagnostic LED codes on the furnace motherboard flashing high-limit or roll-out errors instead of acknowledging a call for heat.
Conclusion
A malfunctioning wireless thermostat sensor does not have to compromise your home’s indoor comfort. By methodically checking battery health, eliminating sources of radio interference, resetting internal memory caches, and optimizing mounting locations, you can quickly restore reliable climate control across every room in your house.
If you have completed these troubleshooting steps and your thermostat still refuses to communicate with your heating and cooling equipment, our certified technicians are here to help. At Nick’s Heating and Cooling, I take pride in providing transparent, rapid service across the Birmingham area. We offer free, no-obligation system inspections to accurately diagnose complex electrical, sensor, and HVAC equipment faults. Contact us today for dependable, professional heating and cooling services.
Nick’s Heating and Cooling currently services Birmingham, Hoover, Vestavia Hills, Mountain Brook, Alabaster, Chelsea, Homewood, Trussville, Pelham, and Irondale for all your HVAC and Heating needs.